
The Aspiring Photographer Part 2 | Natural Light Photography
Lightning is possibly the most important part of a photograph - because without any lighting, ya ain’t got a photo! This part of The Aspiring Photographer series focuses on natural light photography, because most beginning photographers don’t have the time or resources to invest in studio or artificial lighting - plus, I think natural light looks the best and is the most fun to work with.
I’ve structured this blog as more of a FAQ, because there are always questions that come up with photographing in natural light, like the best time to photograph or to how to shoot in direct sunlight. Natural light photography is a massive medium of art and a lot of it has to do with trial & error and personal style choices. So my best advice for the aspiring photographer who wants to use natural light in their photos is to play around as much as possible with different scenarios and be experimental. That’s what art is all about, right?
If you missed the previous Aspiring Photographer post, click here to read it!

Intro to Natural Light Photography
The Best Time of Day for Photographs
The best time of day for photography is when the sun is least harsh (either early morning or during golden hour), and the worst time is when the sun is at its highest point because it will give you the harshest shadows (around noon).
Early Morning
I’ve always loved photographing early in the morning - not only because the light is soft and airy, but because it’s often quiet and easier to focus. One of the benefits of photographing early in the morning is that this is when you’re most likely to find fog during the spring, which can give your photos an interesting mood that is fun to experiment with.
Sunset/Golden Hour
You’ve probably heard the term Golden Hour before and if you don’t know what it means, Golden Hour refers to the final hour before the sun sets when the light is warmest and the least harsh for portraits. If you’ve seen photographs with an intense orange hue in the sky in the background, or seen portraits of people that are dark and colorful, usually they were taken during Golden Hour.
How to Photograph in Harsh Sunlight
There are scenarios where it’s impossible to not be photographing when the sun is out and harsh - if you’re a wedding or portrait photographer, you know the drill. So what can be done to help ease the harshness of the 12pm sun?
Find the Shade
Finding a shady spot either under a tree, next to a building or under some structure is a great way to combat the harsh sun. Even though you’ll still technically be out when the sun is most difficult, photographing in the shade will give you even exposure and avoid the harsh shadows that a bright sun can bring.

In the Shade

Direct Sunlight
Reflectors
Using reflectors during harsh lighting situations is a life saver - if you’re shooting and your model has dark shadows on their face, try bouncing back light from a reflector towards them. You’ll see a massive difference just from this small shift of adding more fill light to your portrait. There are tons of cheap reflectors out there and the best part is that in this case at least, cheap works great!
Which Way to Face in Natural Light Portraits
Backlit
Backlit photographs are fun for portraits because they give you a glowy, sort of angelic effect. What can be difficult here is to get everything evenly exposed from the sky to your portrait model. You’ll be able to avoid blowing out any highlights or losing any information in your shadows and this style of natural light photography gives you a lot of space to experiment with the style you like.

Backlit
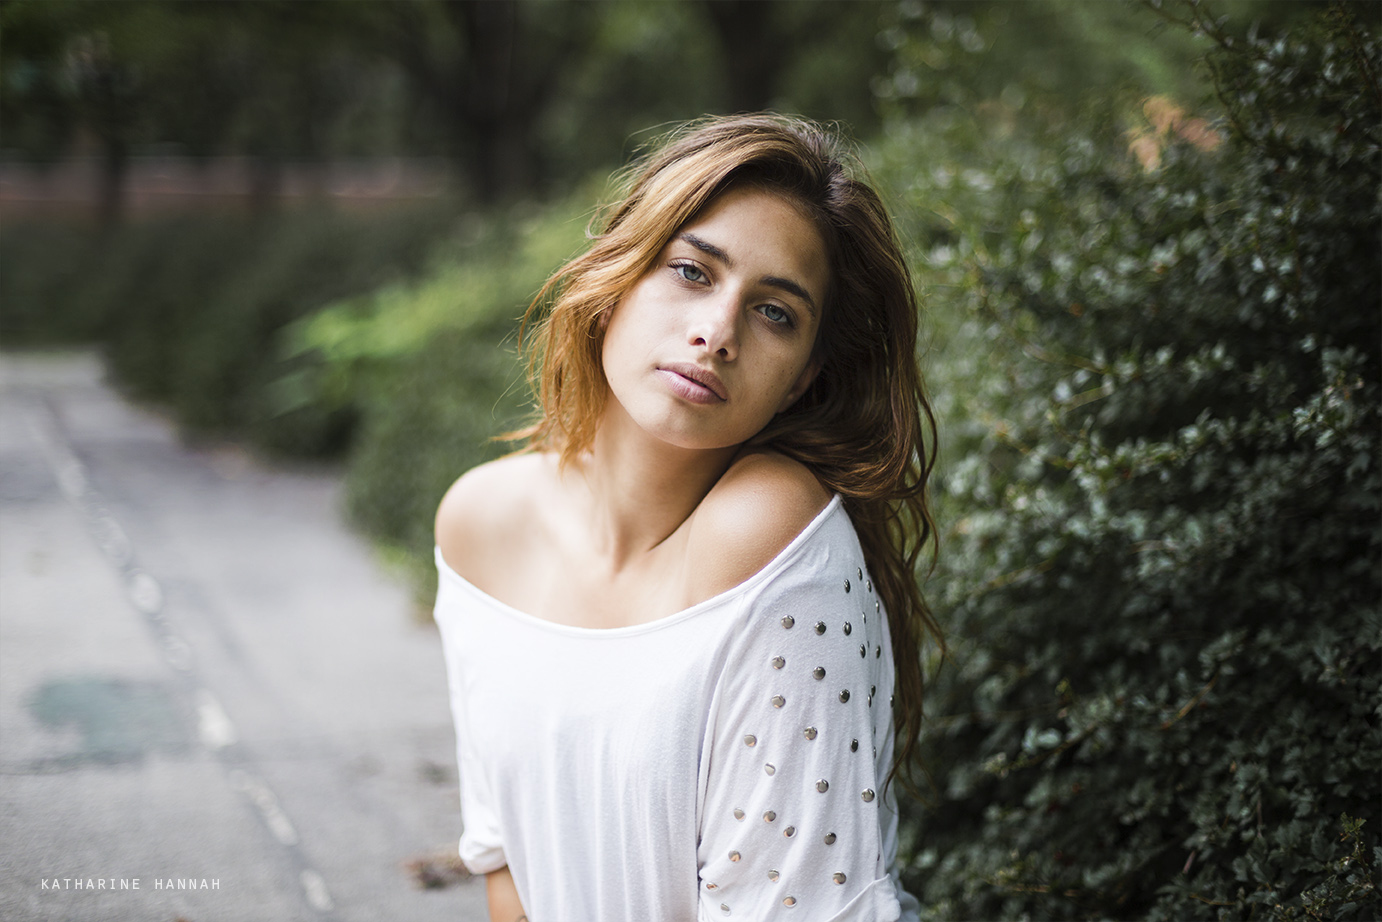
Sideways
Sideways
This type of natural light portrait is my favorite - facing parallel or sideways to the sun gives you a fairly even exposure and also adds amazing shadows to your portrait. You can play around with your model turning their face towards the sun or away to change the mood of your photos.
Why Cloudy Days are the Best for Portraits
Cloudy days are the best for outdoor portraits because it gives me more power as the artist to make decisions. You don’t have to try and find shade to get even lighting and exposure, so you have more freedom to try out locations that you aren’t able to secure shade in. Clouds allow for a more even distribution of light so that nothing is blown out or in dark shadows, and lets you choose what you want to be highlighted, what should be focused on, and essentially gives you the blankest canvas to work from.

How to Shoot Photos Indoors Using Natural Light
Get Close to a Window
Being as close as you can to the source of light will make it easier to expose your photos - I like to shoot with my clients standing either parallel to the window or I’ll stand with my back to the window and have my client face me (like in the video below). I think it gives the best overall lighting for a portrait while still having the moody shadows that add depth.
Homework:
Photograph in harsh sunlight and problem solve as you go for the style you want
Photograph on a cloudy day to see how it shifts the mood of your photo
During a shoot with your model, take photos all the way around them while they stay in the same spot so that you can see how the light shifts from backlit/sideways, etc.